
Ultimate Website Development Guide
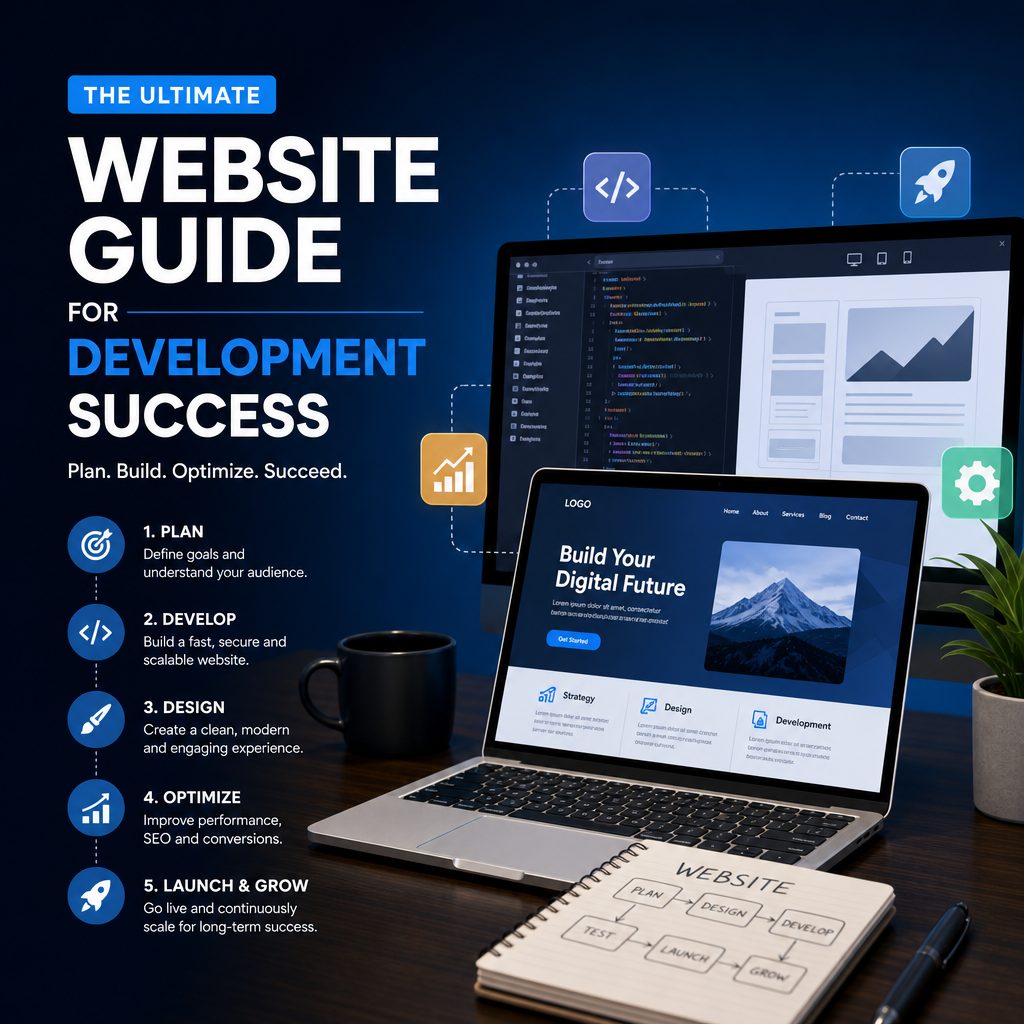
Building a website can feel overwhelming at first, especially if you are trying to make something that looks professional, works smoothly, and actually helps your business grow. The good news is that website development becomes much easier when you break it into clear stages. This website guide will walk you through the full process, from planning and design to development, testing, and launch.
Whether you are creating a personal portfolio, a small business site, an online store, or a custom web app, the same core principles apply. A strong website is not just about visuals. It needs to be fast, secure, mobile-friendly, easy to use, and built with a clear purpose in mind.
What Is Website Development?
Website development is the process of creating and maintaining a website. It includes everything from coding the structure of the pages to making sure the site functions properly across devices and browsers.
In simple terms, website development covers:
- Front-end development: The parts users see and interact with
- Back-end development: The server, database, and logic behind the scenes
- Full-stack development: Both front-end and back-end work combined
A modern website is usually the result of teamwork between designers, developers, content creators, and SEO specialists. Even if one person does it all, the process still involves several important steps.
Step 1: Define the Purpose of Your Website
Before writing code or choosing a theme, start with the purpose. A website without a clear goal often becomes cluttered and ineffective.
Ask yourself:
- What is the main goal of the site?
- Who is the target audience?
- What action should visitors take?
- What content will they need?
For example:
- A restaurant website may focus on menus, reservations, and location details
- A freelancer portfolio may highlight work samples and contact information
- An e-commerce site may focus on product browsing and checkout
- A blog may aim to educate, inform, or attract leads
Having a specific purpose helps you make smarter decisions throughout the project. It also keeps your website guide focused on real business needs rather than random features.
Step 2: Plan the Website Structure
Once the purpose is clear, map out the structure of the website. This is often called the sitemap. It shows how the pages connect and how users will move through the site.
Typical pages might include:
- Home
- About
- Services
- Blog
- Contact
- FAQ
- Shop or Products
- Testimonials
A good structure makes it easier for visitors to find what they need quickly. It also helps search engines understand your site better.
Tips for a Strong Website Structure
- Keep navigation simple
- Limit top-level menu items
- Group related content together
- Use clear page names
- Make important pages easy to access
For example, if you run a digital agency, you might organize your website like this:
- Home
- Services
- Web Design
- SEO
- Branding
- Case Studies
- Blog
- Contact
This type of structure is clean, user-friendly, and scalable.
Step 3: Choose the Right Platform and Tech Stack
The next step is choosing how your website will be built. The best option depends on your budget, technical skill, and long-term goals.
Common Website Platforms
WordPress
WordPress is one of the most popular platforms in the world. It is flexible, beginner-friendly, and suitable for blogs, business sites, and even online stores when paired with WooCommerce.
Best for:
- Content-heavy websites
- Small businesses
- Blogs
- SEO-focused websites
Website Builders
Platforms like Wix, Squarespace, and Shopify offer visual tools and templates that make building easier.
Best for:
- Beginners
- Small businesses
- Simple websites
- Online stores with less custom development
Custom Development
A fully custom site may be built with technologies like HTML, CSS, JavaScript, React, Node.js, PHP, or Laravel.
Best for:
- Complex functionality
- High-performance needs
- Unique design requirements
- Scalable applications
How to Choose
Consider these factors:
- How much customization do you need?
- What is your budget?
- Will you update content yourself?
- Do you need e-commerce or advanced features?
- Will the site grow over time?
If you want speed and simplicity, a managed platform may be enough. If you need more control and flexibility, custom development might be the better choice.
Step 4: Create Wireframes and Design Mockups
Before development begins, it helps to visualize the pages. Wireframes are basic layouts that show where content and elements will go. Mockups are more detailed visual designs that include colors, fonts, and branding.
This stage saves time and prevents costly changes later.
What to Include in Wireframes
- Header
- Navigation
- Hero section
- Main content blocks
- Calls to action
- Footer
Wireframes do not need to be pretty. They only need to show structure. Once approved, designers can create polished mockups that reflect the final look and feel.
Design Best Practices
- Keep layouts clean and uncluttered
- Use consistent spacing
- Make buttons easy to find
- Prioritize readability
- Stick to your brand colors and fonts
A great design does more than look attractive. It guides users toward important actions such as contacting you, making a purchase, or signing up for a newsletter.
Step 5: Build a Mobile-Friendly Experience
Mobile responsiveness is no longer optional. A large portion of web traffic comes from phones and tablets, so your site must work well on smaller screens.
A responsive website automatically adapts to different screen sizes. That means text remains readable, menus are usable, images scale properly, and buttons are easy to tap.
Mobile-Friendly Checklist
- Use responsive layouts
- Test on multiple screen sizes
- Keep forms short
- Avoid tiny buttons
- Make navigation simple
- Compress images for faster loading
If a website looks great on desktop but is hard to use on mobile, visitors will leave quickly. That hurts both user experience and search rankings.
Step 6: Develop the Front End
The front end is what users see in their browser. This includes layout, design elements, animations, buttons, forms, and interactive features.
Typical front-end technologies include:
- HTML for structure
- CSS for styling
- JavaScript for interactivity
A strong front end should be:
- Visually consistent
- Fast-loading
- Accessible
- Easy to navigate
- Compatible across browsers
Example of Front-End Work
Imagine a homepage with:
- A large hero image
- A headline and short description
- A call-to-action button
- Service cards
- Testimonials
- A contact section
The front-end developer turns the design into a working page that looks right on different devices and behaves as expected when users click or scroll.
Step 7: Develop the Back End
The back end powers the site behind the scenes. It manages databases, user accounts, form submissions, content management, and business logic.
Back-end technologies may include:
- PHP
- Python
- Node.js
- Ruby
- Java
- MySQL
- PostgreSQL
For example, if someone fills out a contact form, the back end might:
- Validate the input
- Store the message in a database
- Send an email notification
- Display a success message
If you are building a simple website with WordPress, much of the back-end complexity is handled for you. If you are building a custom application, the back end becomes a major part of the project.
Step 8: Add Content That Supports Your Goals
Content is one of the most important parts of any website. Even the best-looking site will fail if the messaging is unclear or unhelpful.
Your content should answer visitor questions and encourage action.
Types of Content to Prepare
- Homepage copy
- About page text
- Service descriptions
- Product details
- Blog posts
- FAQs
- Contact information
- Testimonials
- Case studies
Content Tips
- Write for your audience, not just for yourself
- Keep paragraphs short
- Use headings and bullets for scannability
- Focus on benefits, not only features
- Include strong calls to action
For example, instead of saying, “We offer web design services,” a stronger message might be, “We design fast, mobile-friendly websites that help businesses turn visitors into leads.”
That version is more specific and value-driven.
Step 9: Optimize for SEO
Search engine optimization helps people find your website through Google and other search engines. A well-built site should include SEO best practices from the beginning.
Basic SEO Elements
- Keyword-focused page titles
- Clear meta descriptions
- Proper heading structure
- Descriptive URLs
- Image alt text
- Internal links
- Fast loading speed
- Mobile-friendly design
This website guide includes SEO because development and search visibility go hand in hand. If a page is difficult for search engines to crawl or understand, it is less likely to rank well.
Simple SEO Example
If you are creating a page for plumbing services, a weak title might be:
- Services
A better title would be:
- Emergency Plumbing Services in Dallas
The second title is more specific and more likely to match search intent.
Step 10: Focus on Speed and Performance
Users expect websites to load quickly. If your site is slow, many visitors will leave before it even finishes loading.
Ways to Improve Performance
- Compress images
- Minify CSS and JavaScript
- Use caching
- Choose reliable hosting
- Reduce unnecessary plugins
- Load only essential scripts
- Use a content delivery network if needed
Speed also affects SEO and conversion rates. A faster website creates a better experience and often leads to better results.
Step 11: Test Everything Before Launch
Testing is one of the most important parts of the process. A website may look complete, but hidden issues can still cause problems.
What to Test
- Navigation links
- Forms and buttons
- Mobile layouts
- Browser compatibility
- Page loading speed
- Broken links
- Spelling and grammar
- Accessibility features
Browser and Device Testing
Check the site in major browsers such as:
- Chrome
- Firefox
- Safari
- Edge
Also test on multiple devices, including desktops, tablets, and smartphones.
For example, a contact form might work on desktop but break on mobile because of spacing or keyboard issues. Testing catches problems like this before visitors do.
Step 12: Launch the Website Properly
Once everything is tested, it is time to launch. But even launch day should be planned carefully.
Launch Checklist
- Connect the domain name
- Set up hosting
- Install SSL for security
- Configure analytics
- Submit sitemap to search engines
- Check key pages one last time
- Set up backups
Do a final review before making the site public. Small errors can become big issues if they are missed during launch.
A smooth launch creates a strong first impression and helps your website start performing from day one.
Step 13: Maintain and Improve the Website
Website development does not end after launch. A website needs ongoing maintenance to stay secure, fast, and relevant.
Ongoing Maintenance Tasks
- Update plugins, themes, and software
- Back up the site regularly
- Monitor for broken links
- Review analytics
- Refresh outdated content
- Improve pages based on user behavior
- Check security logs
As your business grows, your website should grow too. You may need new service pages, updated pricing, additional features, or new content to support marketing goals.
A website that is regularly maintained stays useful longer and performs better over time.
Common Mistakes to Avoid
Many websites fail because of simple mistakes that could have been avoided.
Watch Out for These Problems
- Trying to include too much on one page
- Ignoring mobile users
- Using unclear calls to action
- Choosing style over usability
- Forgetting SEO basics
- Launching without testing
- Neglecting site maintenance
A good website should be attractive, but it should also be practical. Visitors care about speed, clarity, and usefulness more than flashy effects.
Final Thoughts
Website development is a process of planning, building, testing, and improving. When you approach it step by step, it becomes much easier to create a site that looks professional and delivers real results. This website guide has covered the major parts of the journey, from defining your goals to launching and maintaining your site.
The best websites are not just well designed. They are built with purpose, structured for users, optimized for search, and maintained over time. If you focus on those essentials, you will have a much better chance of creating a website that supports your goals and grows with your brand.
